Linker Dialog
The code generation process checks the setting of the selected target.
If the selected CPU doesn't match a valid setting of the linker for the
current CodeWarrior target, the code generation process displays the
following dialog:
Following options are available: Click on the "OK" button to confirm the selection. The "Targets" can be set for the project files in the
CodeWarrior project window. To set the Target options, double click on the
name of the Target listed in the window. You can also change the setting
using the command {CurrentBuildTargetName}
Settings (ALT+F7) in the Edit menu in the CodeWarrior main panel.
The following picture shows the "Targets" TAB in the CodeWarrior
project window:
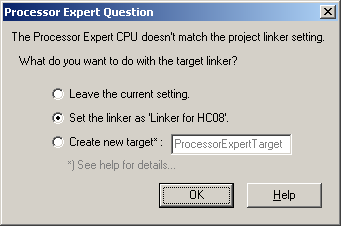
Figure 1 - Linker Dialog
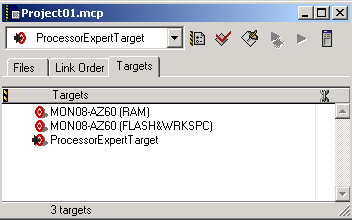
Figure 2 - Targets List
in the CodeWarrior